
Even though it’s a popular choice for homeowners, porcelain doesn’t tend to be the flag of choice for landscapers when it comes to laying a new patio. The delicate material means cutting the tiles requires a good knowledge of the product, the right tools and a steady hand.
We recently went on-site with Sean Fitzgibbon of Prestige Landscaping North West, who gave us his top tips for working with the new Talasey Dellacava flagstones. He told us that a lot of landscapers are in fact turning down jobs with the product as they aren’t confident working with it, saying:
“I think it’s a bit more specialised and some people don’t want to come out of their comfort zone or stray away from what they’re used to.”
If you fancy expanding your skills and trying your hand with a new material, have a watch:

If that’s inspired you then check out the below tips to use porcelain flags in your next job so you can make the most of the weather and get to work on your landscaping projects.
You can also take this a step further by attending the Talasey Training Academy’s 1-day City & Guilds accredited course on the installation of porcelain flagstones. For more details visit www.talaseytrainingacademy.co.uk
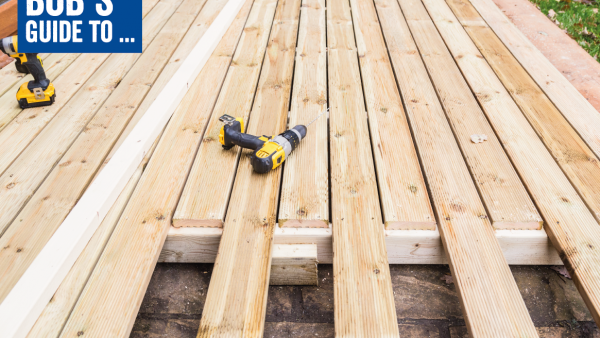
The right tools for the job
Of course, there are the tools you’ll need for every landscaping job: a cement mixer, a spirit level, the correct PPE…
Often, landscapers use a petrol cut off saw (whizzer) when cutting tiles. However, with such a fragile material, this often leads to breakages. A better bet is an electric grinder, which gives you more control without being quite as powerful.
Another important element is water, which will need to be applied while cutting to limit dust gathering. Of course, take care with water and electrical elements.

Marking and measuring
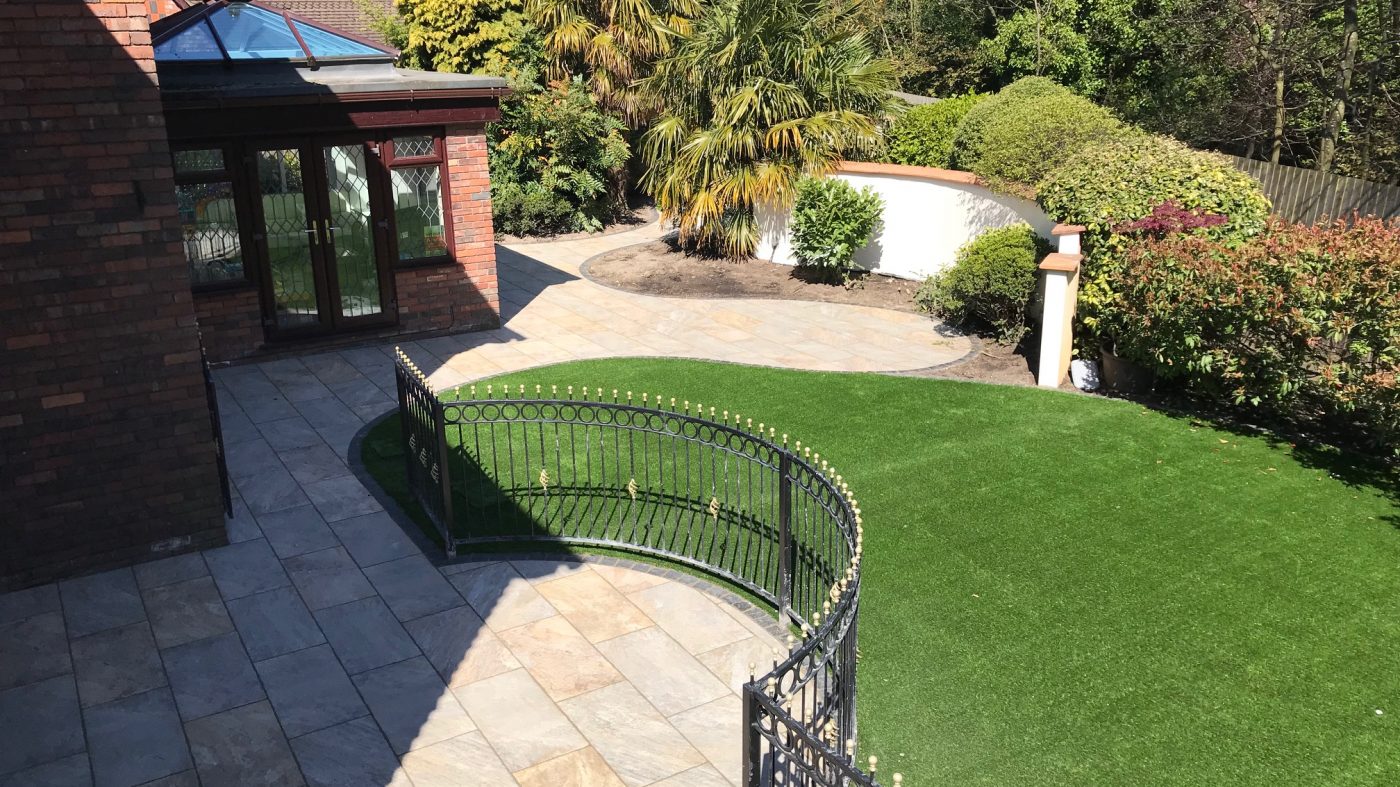
When planning a curved cut, your best bet is to use the actual object to trace the line accurately (like Sean does with the railings in the video). With straight cuts, it’s easier to measure the space you’re placing the flag in and draw the lines out on the flag using the same measurements.
Preparing the cut
These flags chip easily, especially while they’re being cut, which is a major reason why many landscapers aren’t keen to work with them – or if they do, it’s only in straight lines.
However, it’s perfectly possible (and quite easy, once you get the hang of it) to cut in curved lines. All it takes is a bit of preparation.
Firstly, score the line into the flag, making a shallow indent that your full cut can follow. Then, cut into each end of the line, all the way through. This helps to stop the flag from breaking when you cut it.
Once those things are done, you’re ready to do the full cut, carefully, with someone else making sure the dust is sprayed with water.
And, as mentioned above, be sure to use a handheld electric grinder rather than a petrol cut off saw (whizzer), which is too powerful for the delicate material.

Laying
Many flags can be laid straight onto a full bed of mortar – however all porcelain flags require a layer of priming slurry as well to bond them to the mortar.
The key to a good, solid, lay is to make sure the slurry you use is a thick consistency. Apply it all over the bottom of the flag, not just in the corners, to make sure it stays firmly in place.
And of course, keep your spirit level handy to ensure the finished product is straight and true.

You can find out more about our whole range of landscaping products and latest deals here.
Also download our new brochure here.