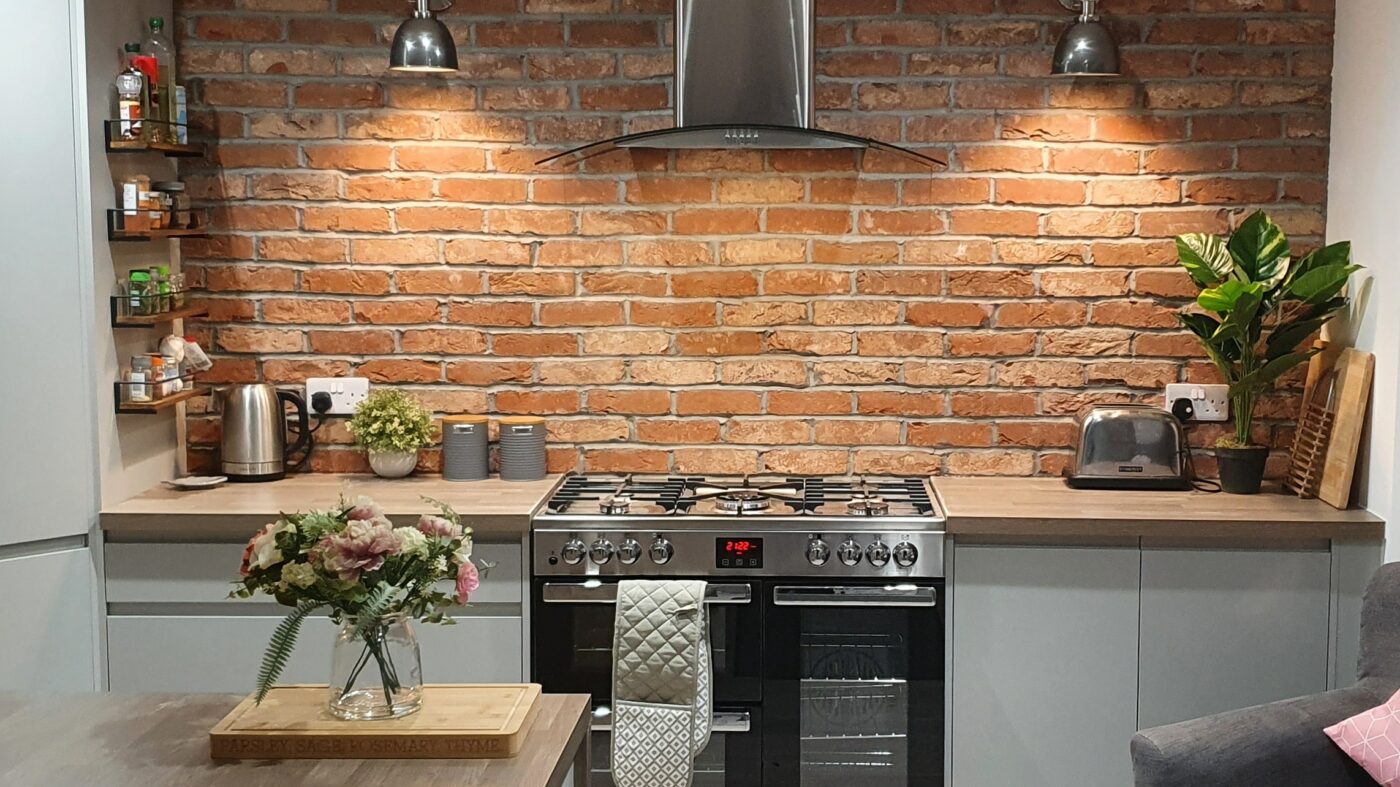

One trend that shows no sign of disappearing any time soon is the industrial look, with customers still keen to incorporate this into their homes. But how can this be done on a tight budget and deadline? One option that’s growing in popularity is brick slips, which are an easy way of creating a rustic, industrial-style brick wall that’s quick and fuss-free.
We chatted to The Brick Tile Company to learn more about brick slips, and how you can install this handy product.
What are brick slips?
In a nutshell, brick slips are tiles that look like a brick wall. So, if your customer wants a rustic exposed wall, but lives in a modern new-build, brick slips allow you to recreate this. They’re really versatile, don’t take up as much space as traditional bricks and can be used on external walls too! Plus, they’re made to be quick and easy to install, allowing you to complete the job in half the time.
The Brick Tile Company has a range of brick slip options to choose from, to suit any design. The reclaimed or traditional brick tiles are ideal if your customer wants a traditional exposed brick look, whilst the contemporary brick tiles are perfect for – you guessed it – more contemporary designs.
In total, there are over 23 different styles available off the shelf, which can be delivered within 3-5 working days. You can request these at your local Jewson branch and the team will handle the order for you!
How to install
Installing brick slips is pretty much the same process as tiling regular ceramic tiles, but there are some key differences to bear in mind. So, here’s a quick step-by-step guide of the installation process:
1. Prepare
Before you get started, there are some things you need to tick off the list. Firstly, cover all nearby surfaces so they don’t get scratched or scuffed and are protected from dust. You should also remove any coving or skirting boards, as these will need to be laid over the brick slip.
You’ll then need to prepare the wall and adhesive. Score and prime the wall to ensure it takes the adhesive, which should be mixed to a smooth paste consistency.
2. Start Tiling
You should start at the bottom and work your way upwards. Use an adhesive trowel to spread 1cm onto the wall, and apply to each tile before pressing firmly on the wall. Then insert the required amount of spacers between the tiles – 1 for contemporary tiles or up to 3 for reclaimed brick tiles.
Top tip: use a spirit level to make sure that tumbled brick tiles are still roughly level.
3. Time for mortar
After the adhesive has had 24 hours to dry, it’s time to apply the mortar. Mortar’s really important as it not only conceals the wall, but it also helps to make the brick slip more realistic and pulls the look together.
Before you apply it, you’ll need to think about the mortar profile your customer would like. The most popular are the concave or flush joints, but it’s worth chatting this through with your customer so you deliver the look they’re after.
Next, take off all the spacers and mix together your mortar. This should also be a smooth paste, which will slip off a trowel, but will hold its form in the bucket. Add the mortar using the mortar gun, applying into the gaps.
4. Finish
After 12-24 hours, the mortar will have dried enough for you to re-fit switches and sockets. The full drying process can potentially take a week, depending on the conditions.
And it’s that simple! With such a straight forward installation, brick slips really are a no-brainer if you want to help your customer to easily recreate the industrial look in their home.
Want to learn more? Visit the Jewson and The Brick Tile Company websites for more information, or just pop into your local Jewson branch.